
Creating a browser environment takes only three steps, but most problems appear later. This checklist covers naming and ownership, consistency between exits and parameters, pre-launch checks, and a practical policy for login state and cookie cleanup.
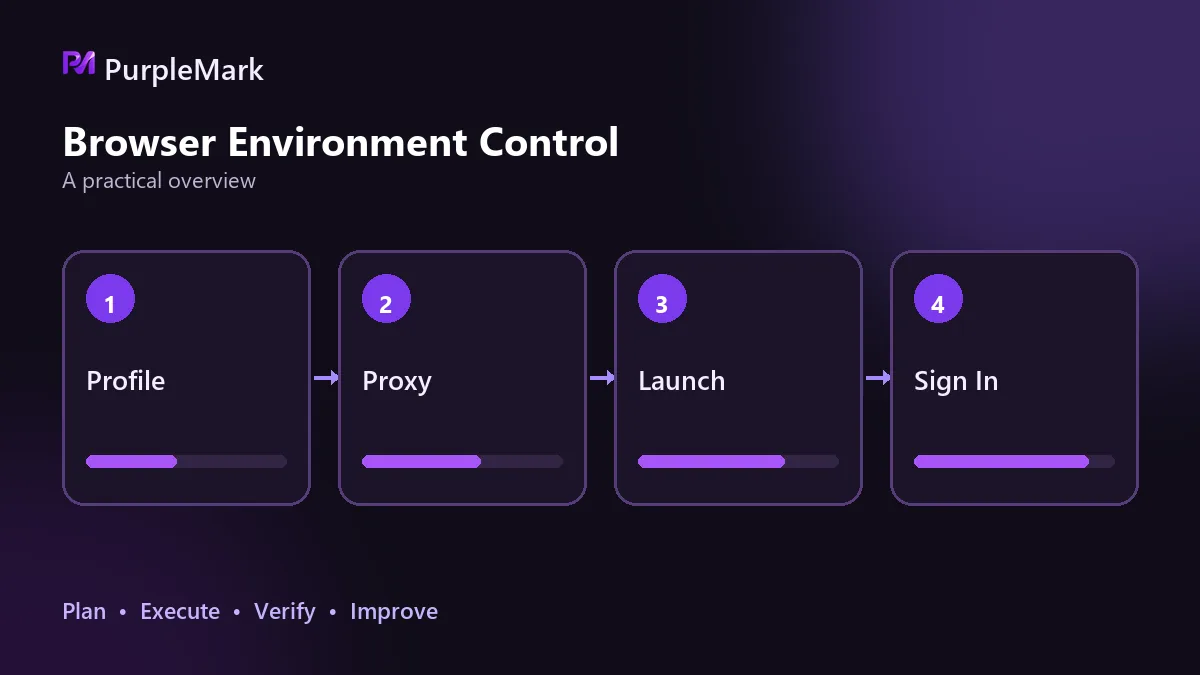
Creating a new browser environment takes only three steps: create the environment, enter the proxy, and open it. The trouble comes later—once you have many environments and need to run them long term, the effort saved up front tends to come back in other ways.
Use the checklist below item by item, especially before an account goes online for the first time.
Lock down naming and ownership before you start
- Use one naming format so the platform, market, and purpose are obvious at a glance, such as fb-us-03
- State ownership clearly in the notes: who owns this environment and which account it maps to; do not leave only a note like “new environment”
- Group environments by market or business line instead of piling a dozen of them into the default group
- Once the rule is set, do not keep changing it. Switching formats halfway through makes older environments hard to classify
Keep the exit and parameters internally consistent
- Bind one exit to one environment and do not share it with other environments
- Match the exit region to the market the account serves; do not use a US exit for a Southeast Asian account
- Set the time zone and language according to the exit region; if the exit is in North America, use corresponding values for both
- Match the UA, OS version, resolution, font list, Canvas/WebGL settings, and hardware concurrency as one coherent set, with no conflicting combinations
- Disable WebRTC or route it through the proxy so local network information is not exposed
Run these checks before going live
- Check the exit IP inside the environment and confirm that the region and ASN are as expected
- Check whether DNS or WebRTC exposes local or ISP information
- Close the environment and reopen it to confirm the fingerprint parameters remain the same
- Use a clean entry point for the first login and do not reuse the previous account's login state
- Confirm the target site loads normally and that the proxy has no timeouts or dropped connections
When to clear login state and cookies
If you switch accounts in the same environment, clear cookies, local storage, cache, and autofill data first. Otherwise, traces of the previous account's login state can be handed to the next account. On the other hand, a long-running account should not live in an environment that starts completely fresh every time it opens—repeated verification can make the behavior look less natural. Record the cleanup policy in the environment notes: which environments retain login state and which are cleared when closed.
When the number of environments grows
Start with one template environment and run every check above until it passes. Then use it as the baseline for bulk copies, changing only the exit and region-related parameters during creation. After copying, verify a sample to make sure the parameters actually took effect rather than only the name changing.
When using PurpleMark to create separate environments for different accounts, the same process applies: begin with one template that has passed the self-check, then scale out according to the number of accounts. The boundaries between environments are clear from the start.
Whether an environment is truly usable is not about how few clicks it took to create; it is about whether every item on this checklist has been completed.


