
From choosing a server and region to basic system security, proxy installation, authentication and ports, client setup and verification, plus a practical troubleshooting order when connections fail.
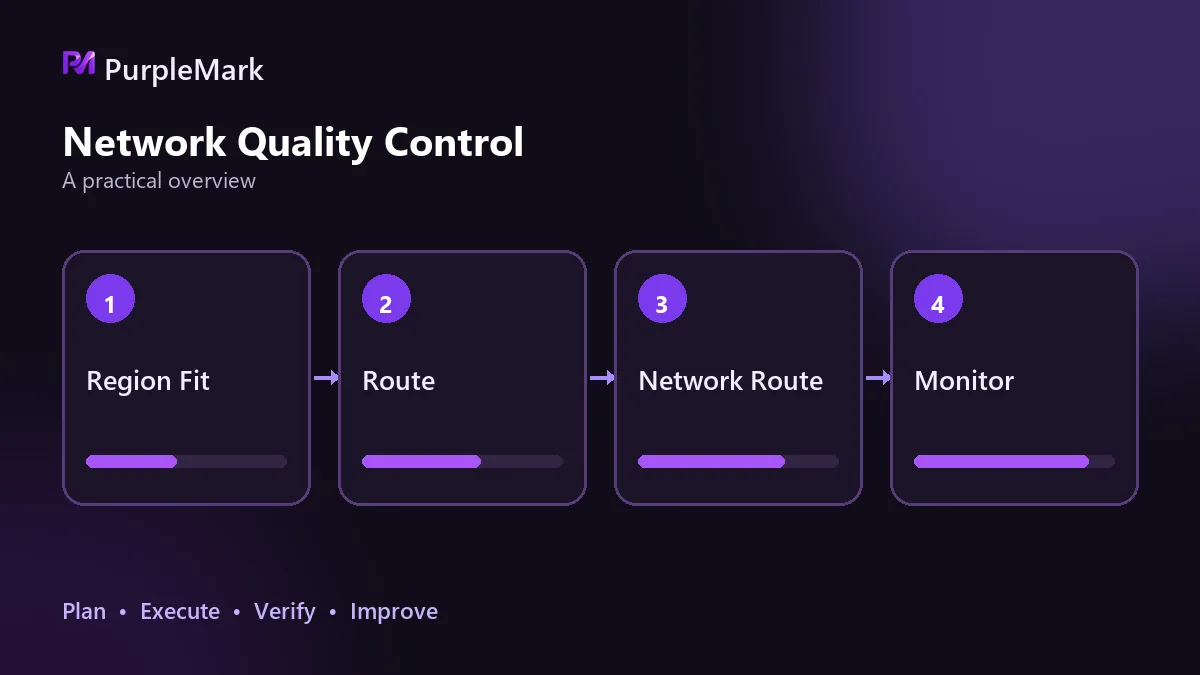
Choose the server and region
A proxy itself uses very little CPU or memory, so those specifications are not the main priority when choosing a server.
There is no need to start with a high-end plan. Bundled products such as lightweight application servers, which combine fixed bandwidth with a monthly traffic allowance, are usually enough for a personal proxy serving one or a few accounts and are inexpensive. Consider general-purpose instances with separately configurable resources only when you need multiple instances or have specific bandwidth requirements.
The region deserves more attention than the hardware, because the exit IP belongs to the location where the node is deployed. The rule is simple: put the node in the market the account is meant to operate in. Many people choose by access speed. A Hong Kong node may be fast from mainland China, but if the account profile says United States while the exit is in Asia, that mismatch matters more than speed. Speed is secondary; consistency comes first.
Estimate bandwidth from actual use. Small bandwidth is enough for checking dashboards and routine administration; image- and video-heavy work needs more; and more simultaneously active accounts require more bandwidth. If you are unsure, start with the smallest plan, watch usage for a month, and adjust.
Finish these steps after the server starts
Choose a Linux system image. These distributions normally include SSH by default, so there is no need to configure a separate remote-access service. When purchasing, using a custom password instead of a key file can save one conversion step later when configuring the proxy.
After receiving the server, record four items first: public IP, username (root by default on Linux), password, and SSH port (22 by default). These are the values you will enter in the client.
Then complete the basic security setup. Changing the default port 22 blocks a large share of automated scanning attempts. If the provider supports key-based login, configure it and then disable password login. In both the provider security group and the system firewall, allow only the ports you actually need and close the rest. These steps take only a few minutes and reduce ongoing scanning and credential-stuffing noise.
Two ways to run the proxy service
One option is to use an SSH tunnel directly. Nothing needs to be installed on the server: the client forwards traffic through the server's existing SSH service, using port 22 and the server's account credentials. The drawback is average performance; long-running use or higher concurrency can become demanding, so it is better for temporary use or a very small number of accounts.
The other option is to install a dedicated proxy service on the server. A common approach is to install it with a single command, then configure the authentication method and port yourself. This delivers better performance and control and is more suitable for long-term use. After installation, enable automatic startup at boot; otherwise the proxy will stop after the server restarts.
Authentication methods and ports
There are three broad authentication levels, with security increasing in order: username and password is the easiest, but a leaked password effectively gives away access to the proxy; password plus a source-IP allowlist is sufficient for routine use; key- or certificate-based authentication is the strongest but requires more setup and is worth the effort for long-running accounts.
For ports, it is not enough to configure the service's listening port. You must also allow that port separately in the system firewall and in the provider's security group. These controls are independent, and opening only one is a common reason connections fail. Also make sure the listening address is not bound only to the local loopback interface. If tests work on the server but external connections fail, this is a likely cause.
Connect from the client and verify
Create a new environment in your environment-management tool, add a name and note (including the account purpose and target region in the name saves time once you have many accounts), then enter the server address, port, username, and password under proxy settings according to the proxy type and run the connection test. A success message means the route is reachable. Exact field names depend on the tool interface.
Passing the connection test is only the first step. Open the environment and confirm three things.
Check whether the exit IP is the server's public IP. Open a page that shows the current IP; the proxy is working only if it displays the server address.
Check whether DNS also goes through the proxy. If DNS is still resolved locally, the exposed geographic information can conflict with the exit IP, making the account's configured region ineffective.
Check whether the time zone and language match the exit region. A U.S. IP paired with a Chinese time zone and Chinese language is an obvious inconsistency.
Only after all three checks pass should the environment be considered ready to use.
Troubleshoot in this order if it will not connect
If the proxy test fails immediately, start with connectivity: confirm that the security group and system firewall allow the port, then verify that the proxy service is running (especially after a server restart), check the username and password, and make sure the server address is correct. Confusing a public IP with a private IP is common.
If the test passes but pages do not open, the problem is usually on the environment side. Check that the correct proxy is bound to the environment and that DNS settings have not been changed back to local resolution.
If performance is slow, first determine whether the cause is distance or bandwidth. Access the target site directly from the server. If the server itself is slow, the node region or network route is the issue; if the server is fast but the client is slow, bandwidth is probably insufficient or too many accounts are online at once.
How to scale when account count grows
Running multiple accounts on one server is cheaper, but every account shares the same exit IP. If the platform identifies relationships by IP range, there may still be linkage between accounts. One server per account costs more but keeps environments fully separate, which is a more robust option for higher-value accounts.
Using an environment-management tool such as PurpleMark to bind a separate exit to each account is more reliable than maintaining a mapping table by hand. At typical lightweight-server pricing, one exit per account is affordable in many cases and can avoid the later work of rebuilding accounts because of linkage. Keep one additional server for testing as well; do not place every account on the same machine, because a single point of failure could affect them all at once.


