
Want to build an international standalone website quickly on a budget? Hostinger is beginner-friendly thanks to its low cost, simple setup, free SSL, and one-click WordPress installation. This guide walks through choosing a plan, buying hosting, connecting a domain, configuring SSL, installing WordPress, and promoting the site after launch.
Want to build an international standalone website quickly on a budget? Hostinger is often one of the first options people consider—it is affordable, easy to use, fast, has servers distributed around the world, and is also one of the hosting providers officially recommended by WordPress. That makes it a good fit for beginners selling across borders. This guide walks you through the entire process, from buying hosting to launching your website.
What Is Hostinger?
Hostinger is a global web hosting provider offering hosting servers, domains, and website-building tools. Its main advantages include fast access through multiple data centers worldwide, free SSL certificates, built-in security protection, one-click site setup, and managed WordPress hosting. For sellers looking to take a brand overseas, it is a cost-friendly place to start.
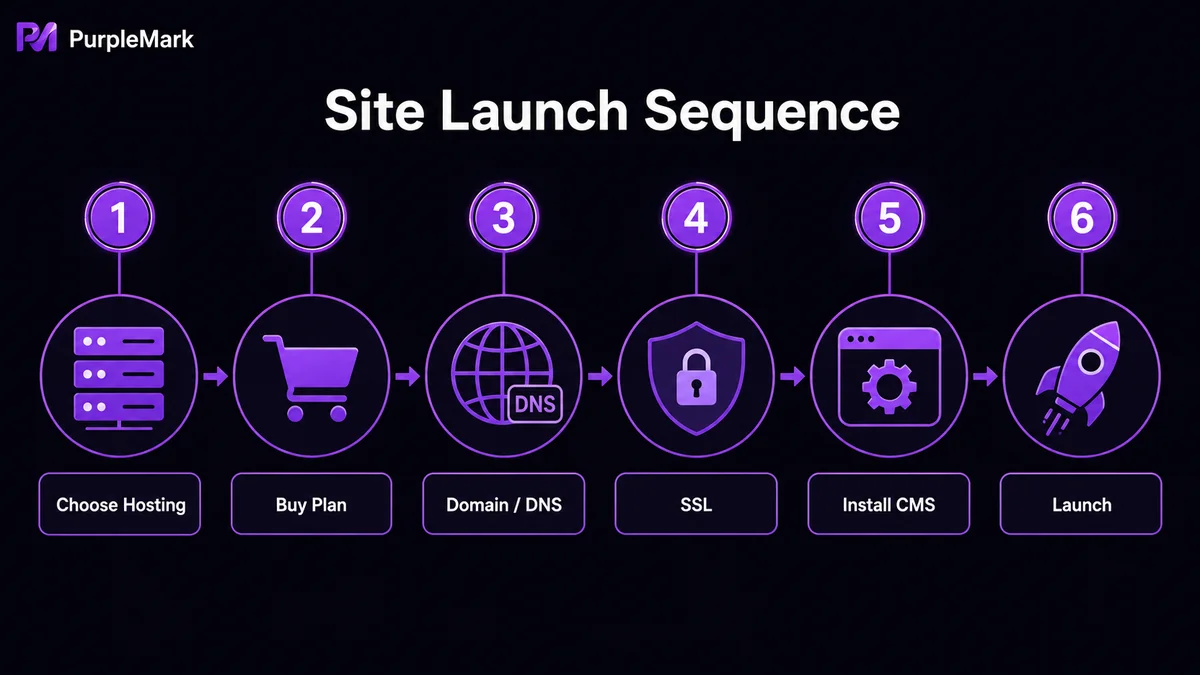
Step 1: Choose a Hosting Plan
Go to the Hostinger website, where you will usually see several plan tiers. As a simple reference:
- Premium (starter tier): suitable for beginners who are just getting started.
- Business (advanced tier): suitable for cross-border ecommerce sites with more products and higher traffic.
After choosing a plan, click Choose Plan and select the subscription length. In general, longer terms have a lower unit price. Many plans include a free domain for one year, and longer subscriptions may come with additional bonuses. Be sure to check the renewal price shown on the page so you can estimate your future costs.
Next, create an account as instructed (you can use a Google account or overseas email services such as Outlook or Yahoo; some domestic email providers may not be supported). On the checkout page, select a payment method such as PayPal or VISA and complete the payment. Your hosting service will then be activated automatically.
Step 2: Connect Your Domain and Configure SSL
You can buy a domain together with Hostinger or purchase one from a third-party registrar. Either option works.
- Add the domain: Log in to the hPanel control panel → Website → Add Website, then enter the domain you purchased.
- DNS setup: Domains purchased from Hostinger are connected automatically. For a domain purchased from a third party, change its DNS servers (Nameservers) to the addresses provided by Hostinger. Once the change takes effect, the domain will point to your hosting account.
- Install SSL: Hostinger provides free SSL for each new site. Go to hPanel → SSL → Install SSL to install it with one click. Once installed, your site will support HTTPS by default, improving both security and SEO.
Step 3: Install WordPress with One Click
Installing WordPress on Hostinger is very straightforward and requires almost no coding knowledge:
- Log in to hPanel, open Website, and find your domain;
- Under Websites → WordPress, click Install, then enter the website name, administrator email, and password as prompted;
- Choose the website language and time zone based on your target market;
- Submit the form, and the system will complete the deployment automatically.
If you purchased the domain from a third party, after WordPress is set up, return to the Hostinger dashboard and copy the hosting IP and DNS addresses. Then go to your domain registrar and replace the Nameservers with Hostinger's. Wait about 20–30 minutes for the DNS changes to take effect.
Finally, return to Security → SSL in hPanel and install the certificate. Then enter yourdomain/wp-admin in your browser and log in to the WordPress dashboard with your administrator account. You can then start choosing a theme, installing plugins, and publishing products and pages.
After Launch: How to Bring in Traffic
Launching the website is only the beginning. Ongoing operation is where the real work starts:
- Social media operations: Consistently publish product and engagement content on Facebook, Instagram, TikTok, and LinkedIn, and direct followers to your standalone site.
- Affiliate marketing: Work with industry KOLs, bloggers, or affiliate platforms and pay based on conversions, helping keep customer acquisition costs under control.
- Paid advertising: Use Google Ads, Facebook Ads, and TikTok Ads for targeted campaigns and rapid market testing.
- Content marketing + SEO: Continuously publish high-quality industry news, product reviews, and how-to guides, while using SEO to improve organic rankings and build long-term free traffic.
A Note About Promoting with Multiple Accounts
When running social media and paid advertising, many sellers operate multiple accounts to test different channels. Keep in mind that platforms apply risk controls to multi-account activity. Repeatedly switching between several accounts on the same device or browser can cause them to be identified as related, which may lead to account suspension or advertising restrictions.
If you need to manage multiple promotional accounts more safely, you can consider using an anti-detect browser to provide separate, isolated login environments for different accounts. Each account can have its own browser fingerprint and network environment, helping reduce the risk of being flagged as associated. These tools often also provide centralized management for ecommerce, social media, and advertising accounts, support sub-accounts and permission allocation for team collaboration, and may use RPA for repetitive publishing tasks when needed. Always use such tools in compliance with platform rules. Treat them as tools for standardized operations, not as a shortcut for bypassing platform policies.
Conclusion
Building a standalone website with Hostinger is straightforward and budget-friendly, with free SSL and one-click WordPress installation included. It is especially suitable for newcomers to international ecommerce. Follow the steps above and you can get your own website online quickly. After launch, build up content, social media, and advertising channels, while maintaining compliant account management, so your standalone site has a real chance to generate orders.


