
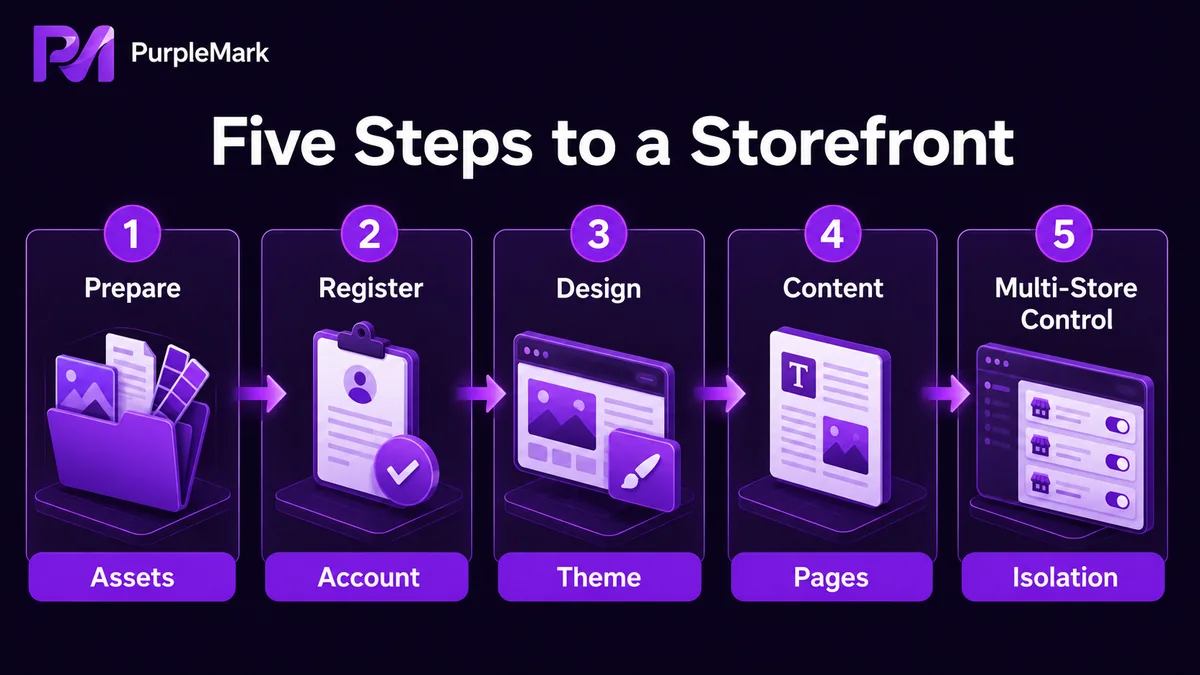
Want to launch a Shopify store but not sure where to start? This guide walks through five stages—preparation, registration, design, content, and multi-store management—and explains practical ways to keep account environments separated when running multiple stores.
With cross-border e-commerce platform rules becoming stricter, independent stores have become a second option for many sellers. Shopify is one of the most widely used platforms for building independent stores. Registration is straightforward, themes are plentiful, and with a PayPal Business account and a domain name, you can get a store online. This guide explains the entire process in five stages: preparation → registration → design → content → multi-store management.
Step 1: Prepare before building the store
Separate the materials needed to create the store from those needed to launch it. The first group is for registration; the second is for actually operating the site.
Essentials before building the store:
- Email: QQ Mail, 163 Mail, and similar services all work. It is best to use an email address that is not widely publicized and reserve it for store management.
- Dual-currency credit card: Used to purchase a Shopify plan. VISA and MasterCard are both supported.
- Product materials: Product photos (ideally white-background, lifestyle, and usage images), videos (which can be added later), and product descriptions.
- Website content: LOGO design (avoid generic icons), the overall theme direction, and an initial plan for content pages.
Essentials before launch:
- Domain name: Choose a domain related to your industry or consistent with your brand, and buy it from a reliable domain provider.
- PayPal Business account: Used to receive payments and generally registered with a sole-proprietor or company business license.
- Paid theme (optional): Decide based on positioning and design requirements.
Once these materials are ready, registration is usually much smoother. Missing items often lead to repeated delays at specific steps.
Step 2: Register for Shopify
Go to the Shopify website, enter a commonly used email address in the registration box, and click “Start free”. Shopify uses the same backend address for Chinese and English interfaces, with no regional difference.
Follow the prompts to create your store account password and store name. Note that Shopify store names cannot be duplicated. If the name is already taken, you must choose another one. The system will also ask for your name, address, country/region, phone number, and other information; enter accurate details.
Shopify normally provides a trial period, during which you can complete the store setup. After the trial ends, you can decide whether to purchase a paid plan.
Step 3: Design and configure the store backend
After logging in, it is recommended to work in the order “Theme → Pages → Navigation,” moving from the outer structure inward.
Theme settings
Go to Online Store → Themes. After registration, Shopify automatically applies its official Dawn theme, which you can replace at any time. Free themes are enough to get started; paid themes are better suited to stores that need more customization. When choosing a theme, prioritize:
- A good mobile experience, because most independent-store traffic comes from phones.
- Loading speed, which affects SEO and bounce rate.
- How well the design matches your target product category.
Page settings
Go to Online Store → Pages → Add Page and add the essential pages for an independent store:
- About Us (brand story)
- Contact (contact information)
- Shipping & Returns (shipping and returns)
- Privacy Policy / Terms of Service (privacy and terms)
- FAQ (frequently asked questions)
Each page can have its own SEO title, description, visibility, and template. It is best to complete these settings before publishing.
Navigation settings
Go to Online Store → Navigation. Shopify creates two menus by default: Footer Menu and Main Menu. Customize them according to your store structure:
- Main Menu: Main categories, brand story, sales campaigns, and similar sections.
- Footer Menu: Customer support, policies, social links, and similar items.
Clear navigation directly improves both user experience and SEO.
Step 4: Produce website content
Once the store design is finished, the next step is to fill it with content. A common tool stack includes:
- Copywriting tools: Large language models such as ChatGPT, Claude, and Gemini can draft product descriptions, brand copy, and ad copy, followed by human editing.
- Grammar checking: Tools such as Grammarly can check the grammar of English copy.
- Image resources: Pexels, Pixabay, Unsplash, and similar sites provide free high-resolution images.
- Video resources: Invite Instagram / TikTok KOLs to create videos, or hire production teams through Upwork / Fiverr.
It is useful to create a content-production SOP: at least 5 images per product, one core selling-point paragraph of no more than 100 words, one detailed description of no more than 300 words, and one FAQ answer. Consistent standards make the store look more professional.
Step 5: Manage multiple store accounts
If you only run one independent store, you can skip this step. Sellers operating a store matrix often have multiple Shopify accounts for different brands, categories, or regions. In that case, separating account environments becomes a basic operational requirement.
Typical issues in a multi-store setup include:
- Logging into multiple Shopify accounts on the same computer and browser can make them easier to identify as related accounts.
- Different stores may share the same Cookie and local data, so an issue affecting one store can potentially affect others.
- When a team takes over, it may be unclear who owns an account or which proxy was used.
The practical approach is to create an independent “browser environment” for each Shopify account. PurpleMark’s web version centralizes this work in one workspace:
- One independent environment per store: Configure operating system, Chromium core version, UA, language, time zone, geolocation, fonts, WebGL, WebRTC, and other parameters separately so each store’s fingerprint profile matches its target region.
- Cookie and local data are isolated between environments: A risk-control issue with one store does not directly affect another environment.
- Proxies are maintained separately: Stores in different regions can use different proxies, and proxy changes do not require editing every environment individually.
- Team collaboration is traceable: Members, roles, permission groups, and operation logs make it clear who is using which store. Accounts can be handed over through environment sharing or transfer without sharing passwords.
- Data recovery: Accidentally deleted environments first go to the recycle bin and are retained for 30 days, leaving a short recovery window.
Building a single independent store may not require much thought about account workspaces—but once you manage two or more stores at the same time, environment separation becomes much more valuable.
Quick implementation path
If you want to build a Shopify store from scratch, follow this sequence:
- Prepare materials: Email, dual-currency credit card, product materials, PayPal Business account, and domain.
- Register for Shopify: Register with the prepared email and finish store design during the trial period.
- Configure the backend: Set up Theme → Pages → Navigation in order and choose a mobile-friendly theme.
- Add content: Use AI tools to draft copy, add images and videos, and establish a content SOP.
- Prepare multi-store environments (if needed): Open PurpleMark Web and create an environment, then configure basic parameters such as each store’s time zone, region, and proxy. If a local browser component is needed, install it from the download page.
Frequently asked questions
Can I register Shopify with a personal email address? Yes. QQ Mail, 163 Mail, Gmail, and similar services can be used. It is better to prepare a separate email for store management and keep it separate from your personal inbox.
Does PayPal have to be a Business account? A PayPal Business account is recommended for receiving payments and can be registered using a sole-proprietor or company business license. Business accounts are generally better suited to cross-border payment collection, withdrawals, and dispute handling than personal accounts.
Can multiple store accounts become associated with one another? Frequently switching between multiple Shopify accounts on the same computer, browser, and IP can increase the chance that the accounts are treated as related. Placing each store in a separate browser environment and assigning proxies appropriate to different regions can reduce that risk.
What can I do during the Shopify trial period? You can complete store design and basic setup during the trial period, but placing live orders, connecting a custom domain, receiving payments, and some other functions require a paid plan.


